Make it yours
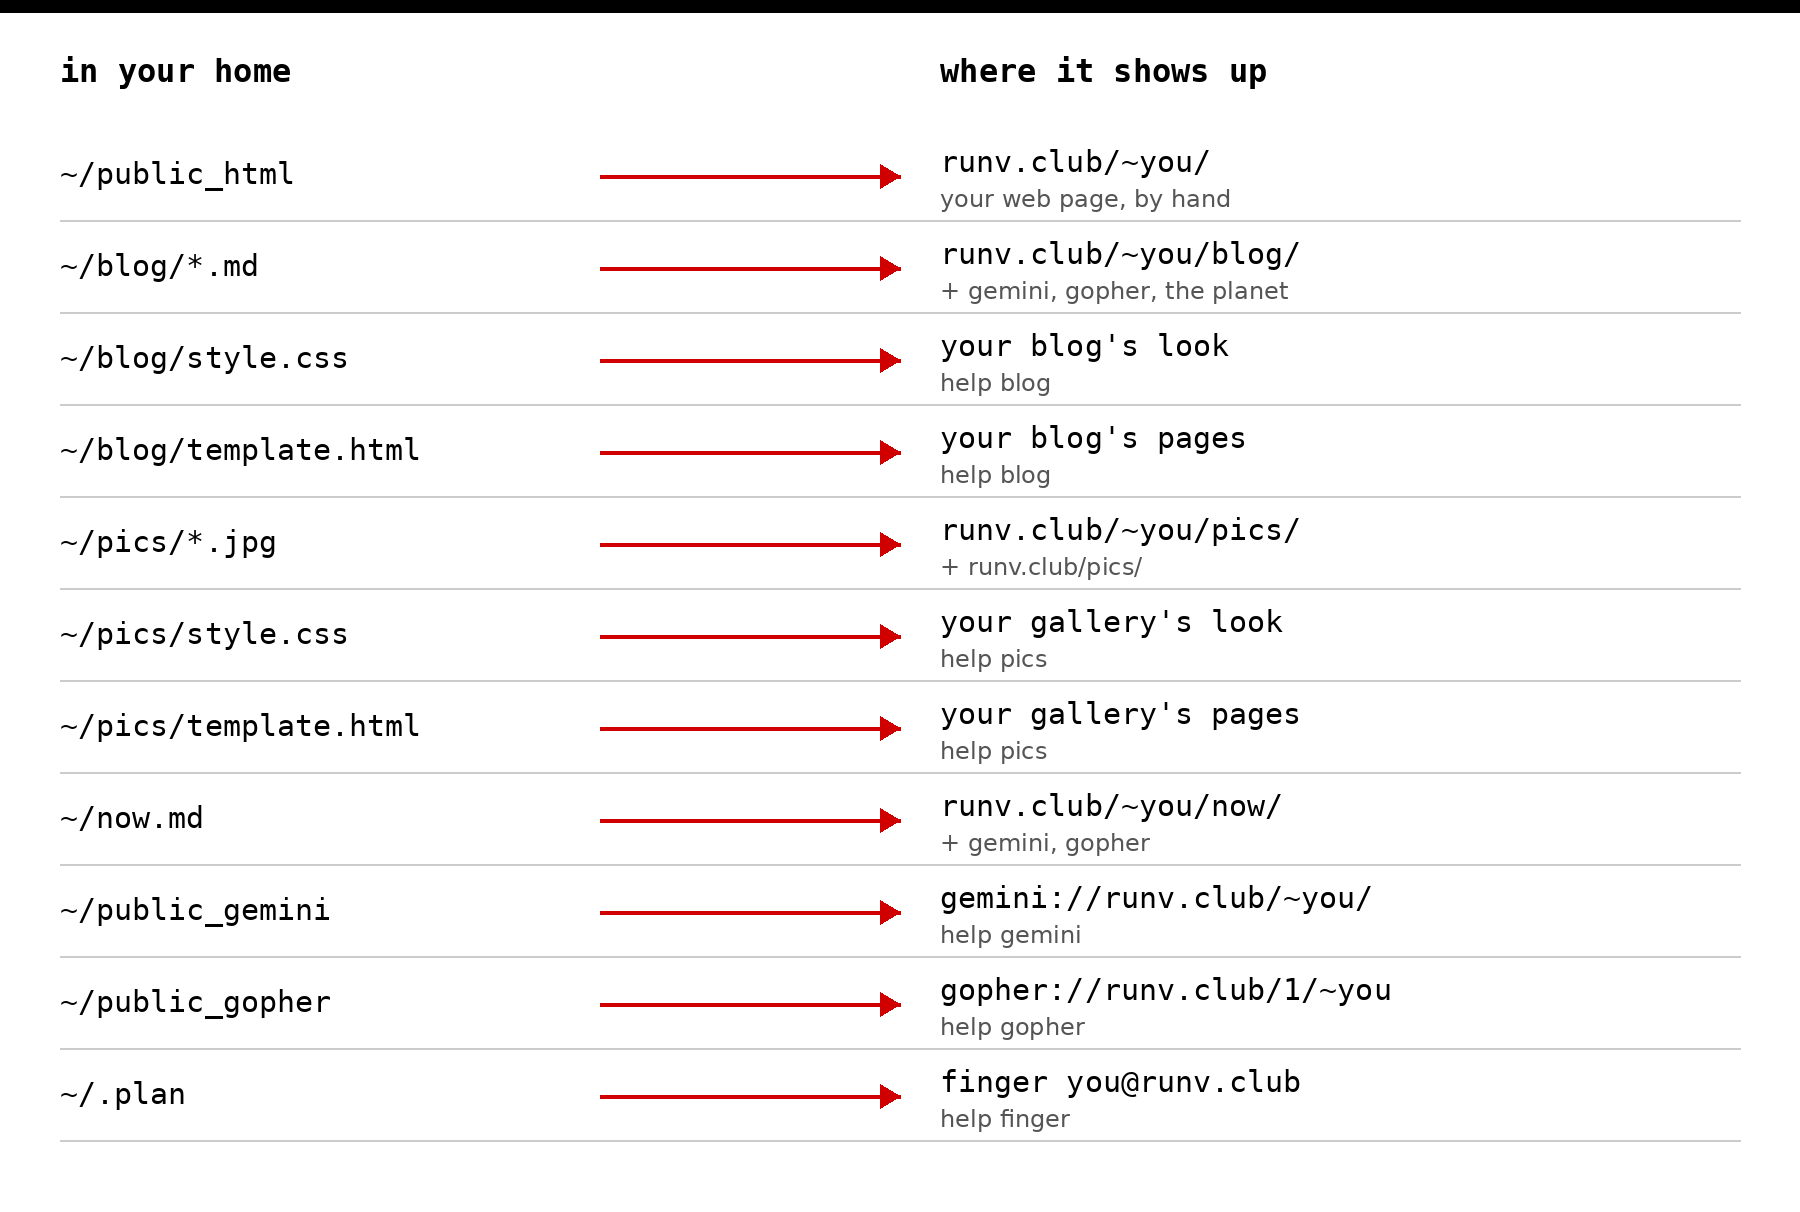
Your blog and your photo gallery come with a plain look that works for everyone. You don't have to keep it. There are three ways to change it, and each one goes further than the last:
- A style.css changes colors, fonts, sizes and layout. Write only what you want different; everything else stays.
- A template.html replaces the page itself. Header, menus, the order of things, scripts: all of it is yours.
- Your own pages, by hand, in ~/public_html. No generator at all.
Everything here also works for the gallery, with small differences that each section points out. Gemini and Gopher stay as they are: they have no styles to change.
1. A style.css
Put a file named style.css in ~/blog, or in ~/pics for the gallery. It goes up next to your pages and loads after the default style, so any rule you write wins. The server picks it up within a few minutes, or run blog build (or pics) to see it now.
A plain file of up to 64 KB. Delete it and you're back to the default.
What the blog has to style
| Selector | What it is |
|---|---|
html, body |
the page and its column of text |
h1 |
the title of a post, or of the blog |
.date |
the date under a post's title |
ul.posts, ul.posts li |
the list of posts on the front page |
pre, code |
code blocks and bits of code |
img |
pictures in your posts |
a |
links |
footer |
the links at the bottom |
What the gallery has to style
| Selector | What it is |
|---|---|
html, body, h1, a |
the page itself |
.grid |
the grid of photos on the front page |
.grid a, .grid img, .grid span |
each photo, its thumbnail and its caption |
figure, figcaption |
a photo on its own page, and its caption |
.when |
the date under it |
nav |
the newer and older links |
footer |
the links at the bottom |
Recipe: black and white, red underlines
Close to the one on my own blog. Plain, readable, a little bit of a terminal in the titles.
:root { --accent: #d00000; }
html { background: #fff; color: #000; border-top: 6px solid #000; }
body { max-width: 36rem; padding-top: 3rem; }
h1, h2, .date, footer, ul.posts li {
  font-family: ui-monospace, Menlo, Consolas, "DejaVu Sans Mono", monospace;
}
h1 { font-weight: 800; letter-spacing: -.03em; }
h1::before { content: "$ "; color: var(--accent); }
a {
  color: #000;
  text-decoration-color: var(--accent);
  text-decoration-thickness: 2px;
  text-underline-offset: .22em;
}
a:hover { background: var(--accent); color: #fff; text-decoration: none; }
pre { border-left: 4px solid var(--accent); padding: 1rem; background: #f2f2f2; }
ul.posts li { padding: .7rem 0; border-bottom: 1px solid #ddd; }
Recipe: dark when the reader's system is dark
@media (prefers-color-scheme: dark) {
  html { background: #111; color: #ddd; }
  a { color: #8cf; }
  .date { color: #999; }
}
Recipe: a font from Google Fonts
@import has to be the first line of the file.
@import url("https://fonts.googleapis.com/css2?family=IBM+Plex+Serif:ital@0;1&display=swap");
body { font-family: "IBM Plex Serif", Georgia, serif; }
Recipe: a gallery in black and white, color on hover
.grid { grid-template-columns: repeat(3, 1fr); gap: 4px; }
.grid img { filter: grayscale(1); transition: filter .3s; }
.grid a:hover img { filter: none; }
.grid a { position: relative; }
.grid span {
  position: absolute; left: 0; right: 0; bottom: 0; margin: 0;
  padding: .4rem .6rem; background: rgb(0 0 0 / .6); color: #fff;
  font-size: .85rem;
}
2. A template.html
When CSS isn't enough, take over the page. In the terminal:
blog template
That copies the template every blog uses to ~/blog/template.html (pics template does the same for ~/pics). Change it however you like; from then on every page of your blog is made from it. Delete it to go back.
It's a Jinja2 template: HTML with {{ something }} where a value goes and {% for %}, {% if %} for the rest. One file makes every page, and kind tells you which one is being made.
What a blog template gets
| Name | What it is |
|---|---|
kind |
"index" for the front page, "post" for a post |
title |
the title for the browser tab |
post |
on a post: post.title, post.date, post.content (already HTML), post.url, post.slug |
newer, older |
the posts next to this one, like post, or nothing |
posts |
every post, newest first, each like post |
user |
your username |
blog_url, feed_url, home_url |
the addresses of your blog, its feed and your page |
style |
the link to your style.css, if you have one |
default_css |
our CSS, to keep inside a <style> or to leave out |
What a gallery template gets
| Name | What it is |
|---|---|
kind |
"index" for the gallery, "photo" for a photo's own page |
title |
the title for the browser tab |
photo |
on a photo page: photo.image, photo.thumb, photo.width, photo.height, photo.caption, photo.alt, photo.date, photo.url, photo.slug |
newer, older |
the photos next to this one, like photo, or nothing |
photos |
every photo, newest first, each like photo |
user |
your username |
gallery_url, home_url |
the addresses of your gallery and your page |
style, default_css |
the same as for the blog |
Text is escaped for you: a caption with < in it shows a <, it doesn't open a tag. post.content is already HTML, so it goes in as it is.
When it breaks
A typo in the template doesn't take your blog down. The pages stay as they were, and the reason, with the line number, goes in ~/blog/template.err (or ~/pics/template.err). blog build and pics print it too. Fix it, and the note goes away by itself on the next build.
Recipe: a blog with a menu, excerpts and links between posts
<!doctype html>
<html lang="en">
<head>
<meta charset="utf-8">
<meta name="viewport" content="width=device-width, initial-scale=1">
<title>{{ title }}</title>
<link rel="alternate" type="application/atom+xml" href="{{ feed_url }}">
<style>
{{ default_css }}
header { display: flex; gap: 1rem; margin-bottom: 3rem; font-size: 1rem; }
.post-nav { display: flex; justify-content: space-between; margin-top: 3rem; }
</style>{{ style }}
</head>
<body>
<header>
  <a href="{{ home_url }}">home</a>
  <a href="{{ blog_url }}">blog</a>
  <a href="{{ feed_url }}">feed</a>
</header>
{% if kind == "post" %}
<article>
  <h1>{{ post.title }}</h1>
  <p class="date">{{ post.date }}</p>
  {{ post.content }}
</article>
<nav class="post-nav">
  {% if newer %}<a href="{{ newer.url }}">← {{ newer.title }}</a>{% else %}<span></span>{% endif %}
  {% if older %}<a href="{{ older.url }}">{{ older.title }} →</a>{% endif %}
</nav>
{% else %}
<h1>~{{ user }}</h1>
{% for p in posts %}
<section>
  <h2><a href="{{ p.url }}">{{ p.title }}</a></h2>
  <p class="date">{{ p.date }}</p>
  <p>{{ p.content|striptags|truncate(200) }}</p>
</section>
{% else %}
<p>Nothing here yet.</p>
{% endfor %}
{% endif %}
</body>
</html>
Recipe: the gallery as a slideshow
One photo at a time, on black, with arrows (and the keyboard arrows) to move. Each photo still has its own page for people who link to it.
<!doctype html>
<html lang="en">
<head>
<meta charset="utf-8">
<meta name="viewport" content="width=device-width, initial-scale=1">
<title>{{ title }}</title>
<style>
html, body { margin: 0; height: 100%; background: #000; color: #eee; font: 1rem/1.5 system-ui, sans-serif; }
.show { min-height: 100%; display: flex; flex-direction: column; align-items: center; justify-content: center; }
.show img { max-width: 100%; max-height: 85vh; }
.show p { margin: .75rem 1rem; text-align: center; }
a { color: #eee; }
</style>{{ style }}
</head>
<body>
{% if kind == "index" and photos %}
<div class="show">
  <img id="pic" src="{{ photos[0].image }}" alt="{{ photos[0].alt }}">
  <p id="cap">{{ photos[0].caption }}</p>
  <p><a href="#" id="prev">← prev</a> · <a href="#" id="next">next →</a></p>
</div>
<script>
const photos = {{ photos|tojson }};
const pic = document.getElementById("pic"), cap = document.getElementById("cap");
let i = 0;
function show(n) {
  i = (n + photos.length) % photos.length;
  pic.src = photos[i].image;
  pic.alt = photos[i].alt;
  cap.textContent = photos[i].caption;
}
document.getElementById("prev").onclick = e => { e.preventDefault(); show(i - 1); };
document.getElementById("next").onclick = e => { e.preventDefault(); show(i + 1); };
document.addEventListener("keydown", e => {
  if (e.key === "ArrowLeft") show(i - 1);
  if (e.key === "ArrowRight") show(i + 1);
});
</script>
{% elif kind == "photo" %}
<div class="show">
  <img src="{{ photo.image }}" alt="{{ photo.alt }}">
  <p>{{ photo.caption }}</p>
  <p><a href="./">all of them</a></p>
</div>
{% else %}
<p>No photos yet.</p>
{% endif %}
</body>
</html>
Scripts run, but each page lives in a sandbox of its own: cookies and localStorage don't work, and a script can't read other pages on runv.club.
3. Your own pages, by hand
The blog and the gallery are the easy way, not the only one. Anything you put in ~/public_html is served as it is, at https://runv.club/~you/: HTML, CSS, JavaScript, pictures, fonts. Make a whole site by hand, use a static site generator (hugo is installed), or mix: a front page you wrote yourself, with links to the blog and the gallery the server makes for you. See web for the details.
What you can't change
- The Gemini and Gopher versions of your blog. They're plain text by nature.
- Your /now page, which keeps the default look for now.
- How your photos look on runv.club/pics/, the page with everyone's galleries.
- What the server does to your photos before they go up (help pics explains it): that part protects you.